Update ScreenerPage to Use Real Data
Now that we are retrieving the actual crypto data, let's update the Screener page to display the real data.
In this section we'll be leveraging the Model View ViewModel architecture (MVVM).
You can learn more about MVVM and Data Bindings in .NET MAUI, here: https://learn.microsoft.com/dotnet/maui/xaml/fundamentals/mvvm
1. Update ScreenerViewModel
Let's create a public property in ScreenerViewModel that notifies the UI when it has updates.
In Visual Studio, open ViewModels/ScreenerViewModel.cs
In ScreenerViewModel, add a public
IReadOnlyListproperty that points to the existingAssetCollection:using System.Collections.Specialized;
using CommunityToolkit.Mvvm.ComponentModel;
namespace MauiCrypto;
partial class ScreenerViewModel : BaseViewModel
{
public ScreenerViewModel(IDispatcher dispatcher, CryptoGraphQLService cryptoGraphQLService) : base(dispatcher)
{
}
public IReadOnlyList<ObservableCryptoModel> AssetList => BaseViewModel.AssetCollection.ToList();
}infoBaseViewModel.AssetCollectionis anObservableCollectionthat is initialized when the app launches. Specifically, when the Dashboard pages appears, it populatesBaseViewModel.AssetCollectionwith the data from the Backend GraphQL Server.infoLater, in
ScreenerPage, we will bind ourCollectionView.ItemSourceto this new property,AssetListIn ScreenerViewModel, subscribe to the
AssetCollection.CollectionChangedevent, to notify the UI to update theCollectionVieweach time a new crypto asset is added toAssetCollection:using System.Collections.Specialized;
using CommunityToolkit.Mvvm.ComponentModel;
namespace MauiCrypto;
partial class ScreenerViewModel : BaseViewModel
{
public ScreenerViewModel(IDispatcher dispatcher, CryptoGraphQLService cryptoGraphQLService) : base(dispatcher)
{
BaseViewModel.AssetCollection.CollectionChanged += HandleCollectionChanged;
}
public IReadOnlyList<ObservableCryptoModel> AssetList => BaseViewModel.AssetCollection.ToList();
void HandleCollectionChanged(object? sender, NotifyCollectionChangedEventArgs e)
{
OnPropertyChanged(nameof(AssetList));
}
}infoOnPropertyChanged(nameof(AssetList))notifys any UI element with a binding toAssetListthat its value has changed. This then invokes the UI to update the screen using the new data.
2. Add Data Binding to ScreenerPage CollectionView
Now that the ScreenerViewModel contains the list of Assets that we want to display on screen, let's update the CollectionView in ScreenerPage use it as its ItemSource binding.
In Visual Studio, open /Pages/ScreenerPage.cs
In ScreenerPage, replace the
CollectionView's hard-coded data with a binding toScreenerViewModel.AssetList:using CommunityToolkit.Maui.Markup;
namespace MauiCrypto;
class ScreenerPage : BasePage<ScreenerViewModel>
{
public ScreenerPage(ScreenerViewModel screenerViewModel) : base(screenerViewModel, "Screener", false)
{
Padding = 0;
Content = new CollectionView()
.ItemTemplate(new TopPerformersDataTemplate())
.Bind(CollectionView.ItemsSourceProperty, nameof(ScreenerViewModel.AssetList));
}
}
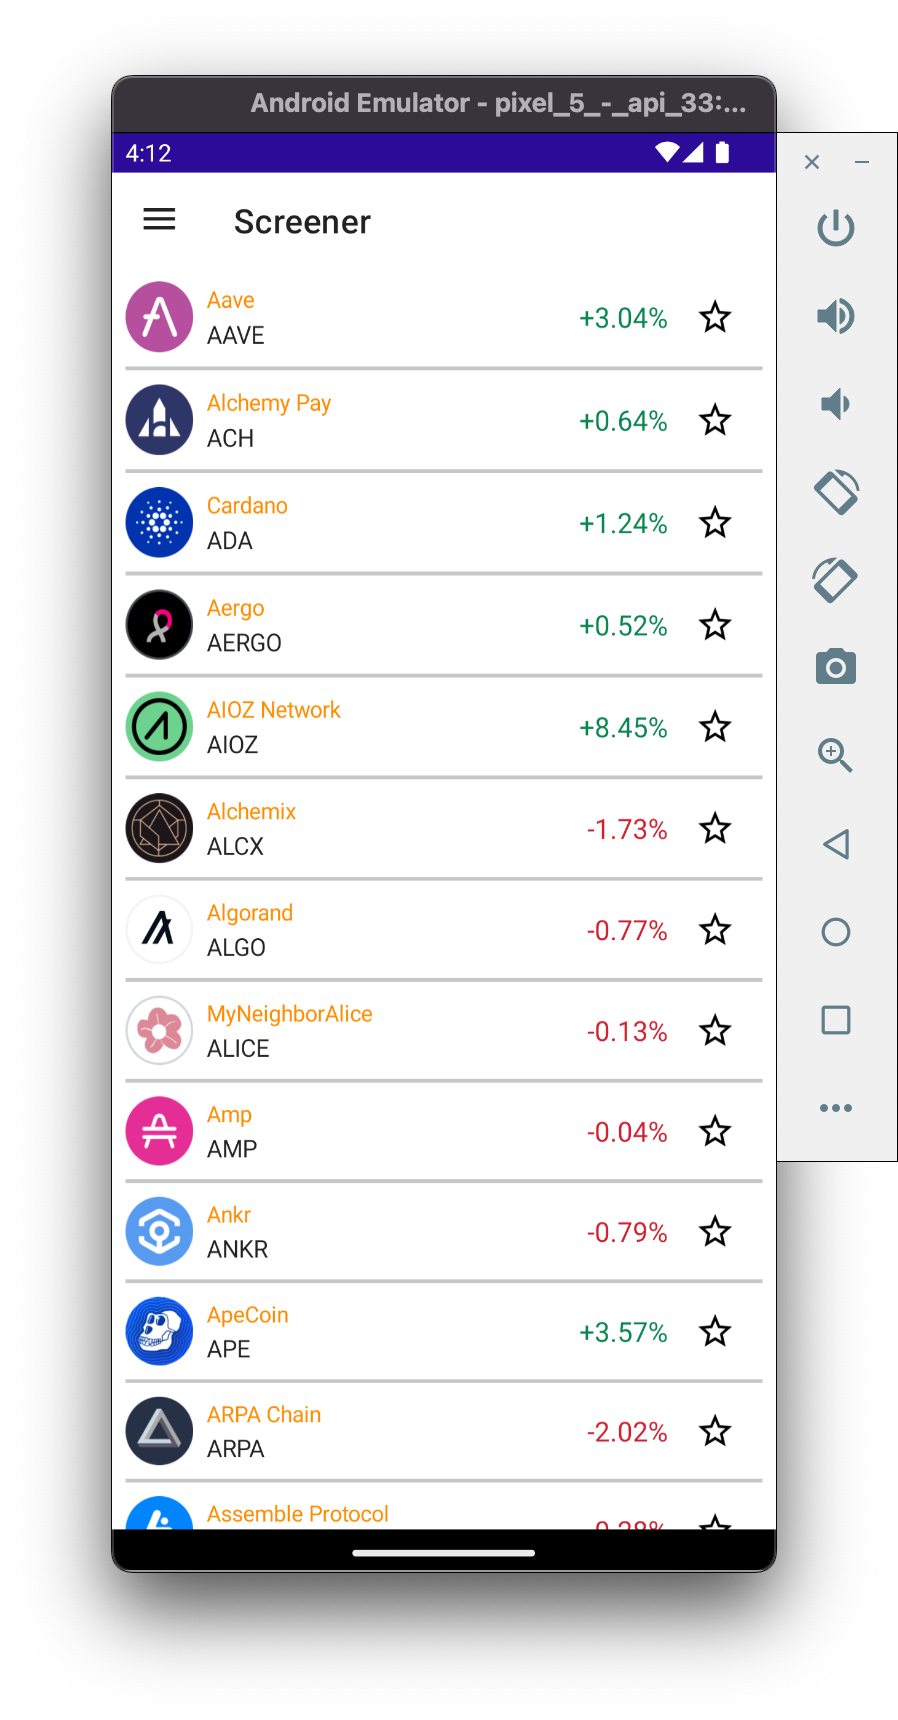
3. View Updated Screener Page
- In Visual Studio, build + deploy the Android app to the Android Emulator
- In the Android Emulator, navigate to the Screener page
- On the Screener page, verify the real data is now displayed
- On the Screener page, confirm nothing happens when you tap any item in the list
4. Enable Tapping on CollectionView
In Visual Studio, open Pages/ScreenerPage.cs
In ScreenerPage, on the
CollectionView, enableSelectionMode.Single:using CommunityToolkit.Maui.Markup;
namespace MauiCrypto;
class ScreenerPage : BasePage<ScreenerViewModel>
{
public ScreenerPage(ScreenerViewModel screenerViewModel) : base(screenerViewModel, "Screener", false)
{
Padding = 0;
Content = new CollectionView { SelectionMode = SelectionMode.Single }
.ItemTemplate(new TopPerformersDataTemplate())
.Bind(CollectionView.ItemsSourceProperty, nameof(ScreenerViewModel.AssetList));
}
}In ScreenerPage, bind the
CollectionView.SelectionChangedCommandPropertyand theCollectionView.SelectionChangedCommandParameterProperty:using CommunityToolkit.Maui.Markup;
namespace MauiCrypto;
class ScreenerPage : BasePage<ScreenerViewModel>
{
public ScreenerPage(ScreenerViewModel screenerViewModel) : base(screenerViewModel, "Screener", false)
{
Padding = 0;
Content = new CollectionView { SelectionMode = SelectionMode.Single }
.ItemTemplate(new TopPerformersDataTemplate())
.Bind(CollectionView.ItemsSourceProperty, nameof(ScreenerViewModel.AssetList))
.Bind(CollectionView.SelectionChangedCommandProperty, nameof(BaseViewModel.CollectionViewSelectionChangedCommand))
.Bind(CollectionView.SelectionChangedCommandParameterProperty, source: RelativeBindingSource.Self);
}
}infoSelectionChangedCommandPropertyis anICommandthat runs an action anytime the user makes a selection. The logic for theICommandis found inBaseViewModel.CollectionViewSelectionChangedCommand.infoSelectionChangedCommandParameterPropertysets the object passed into theICommand. In this instance, we set thesourceof the binding toRelativeBindingSourceMode.Selfwhich tells .NET MAUI to pass the selectedObservableCryptoModelfromScreenerViewModel.AssetListinto theICommand.
5. Tap on the Updated Screener Page CollectionView
- In Visual Studio, build + deploy the Android app to the Android Emulator
- In the Android Emulator, navigate to the Screener page
- On the Screener page, verify the real data is now displayed
- On the Screener page, tap on the first item in the list
- In the Android Emulator, confirm the Asset Chart page appears with an empty chart
